How to create a birthday cake made from cheese
If you're looking for a gift that's a bit out of the ordinary for someone special in your life, a birthday cake made from cheese is a fantastic choice. Cheese celebration cakes are a real talking point at birthday parties, and they're a brilliant alternative to a traditional cake for those who aren't into sweets or who simply love cheese. Let's take a look at how to create a birthday cake made from cheese and what to consider when ordering, assembling and storing one.

How to create a birthday cake made from cheese
There are three key methods for creating a birthday cake made from cheese. The first is to buy a series of cheese wheels and truckles individually to form the tiers of your cake. This gives you complete freedom over the varieties in your cake and the colours and textures of the tiers. The trouble is, if your knowledge of cheese is limited, it can be tricky to curate tiers that work well together. The second option is to buy a ready-curated cake that has a set variety of tiers. This is a good option if you're not very knowledgeable about cheese and want a cake that will hold up well and with a good variety of cheeses that complement one another.
The third method is to choose a birthday cheese cake from the Chuckling Cheese Company, and this gives you the best of both worlds. We partially curate our cakes to offer you a brilliant variety of cheeses while providing you with a choice of cheeses for some of the tiers. This allows you to easily create a cake that has a balanced variety of cheeses while satisfying the palate of the lucky birthday recipient. With that in mind, let's walk you through the steps involved in creating a cheese birthday cake.
Step 1: Select a size
Cheese celebration cakes are measured in total weight rather than tier diameter or the number of tiers. Aim to provide 100g of cheese per person if serving the cheese with crackers and chutney. This means a 2 kg cake will serve around 20 people, but considering some will eat less than others, it's suitable for a party of between 18 to 25 guests. Ask yourself how many people you're catering for and whether you want leftovers to enjoy after the birthday party.
Step 2: Choose your cheeses
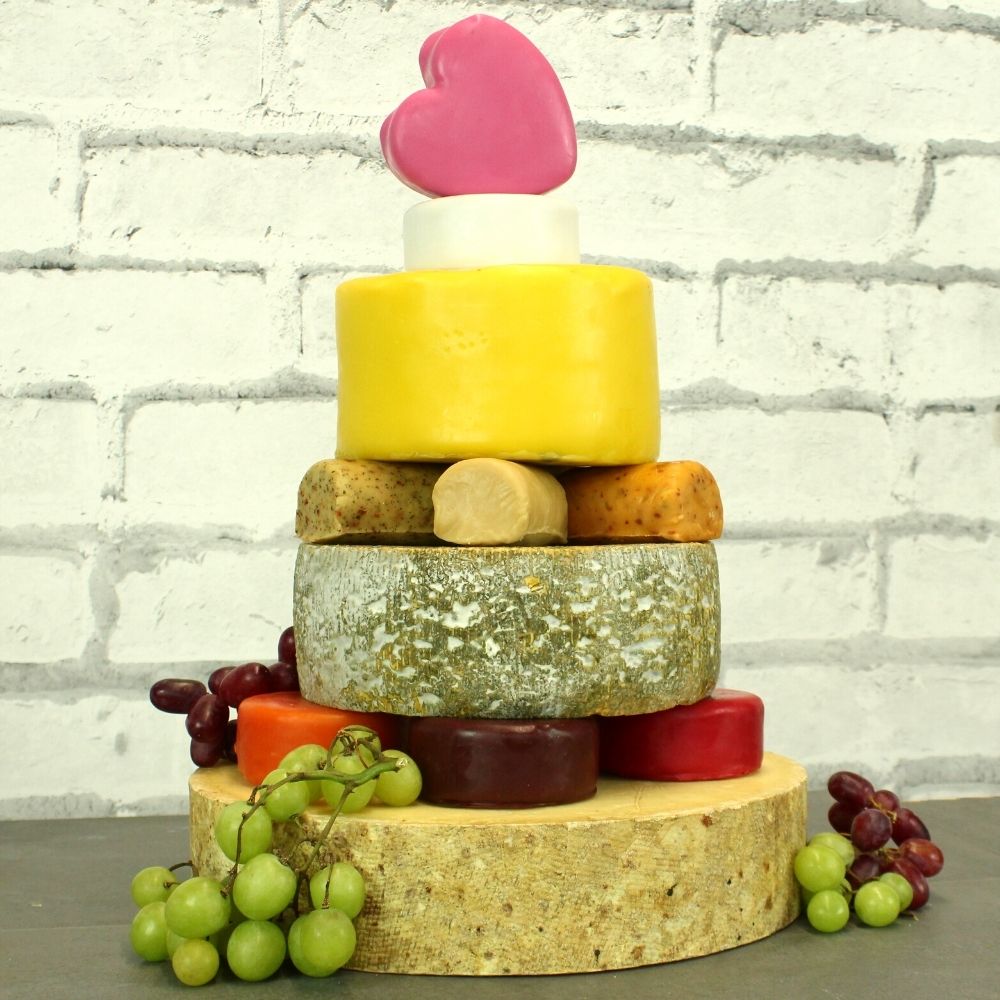
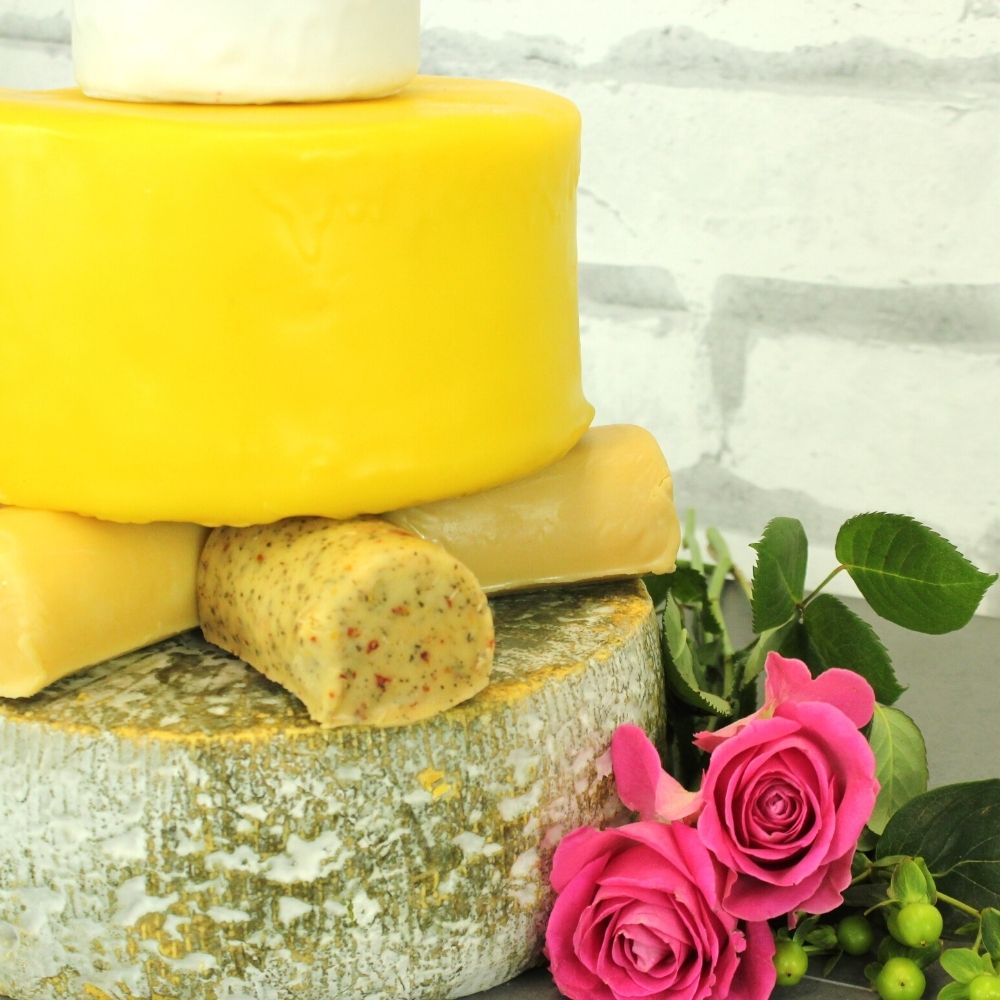
One of the best things about a cheese birthday cake is that guests can sample a wide range of different cheeses in one go, so keep this in mind when choosing your cheeses and look for variety. However, to keep everyone satisfied it makes sense to choose very popular cheeses for the largest tiers. Cheddar tends to be a good choice for the bottom tier, and it has the added benefit of being a hard, sturdy cheese that can support the weight of several truckles on top of it. Firmness is something important to keep in mind when selecting your cheeses. Soft cheeses like Brie can get squashed easily, so either avoid them completely or use them as the topmost tier.
Step 3: Store and assemble your cheeses
When your cheese cake is delivered it will not be assembled. This is so the cheeses can be properly packaged to protect them during transit. It's vital to store the cheeses below 5 degrees Celsius until you're ready to assemble the cake. Most cheddar cheeses have an unopened shelf life of two to six months while soft cheeses have a life of 3 to 5 weeks, so keep this in mind if you're ordering in advance of the birthday. When the time comes to stack the cheese tiers, you might want to use a bamboo skewer driven down the centre of the tiers to hold the cake securely together.
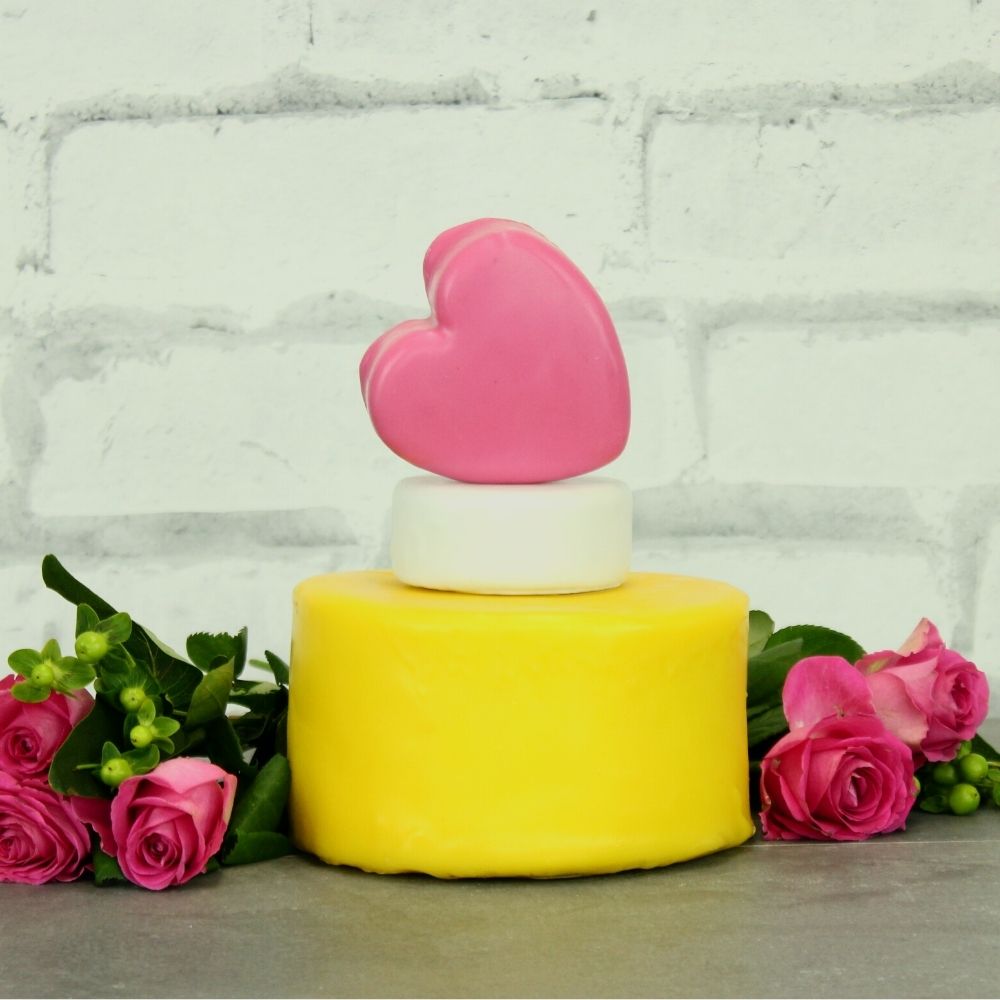
Step 4: Add decorations
You don't have to decorate your cheese birthday cake but doing so can make it look extra special. You could tie a ribbon around some of the tiers or add fresh flowers or herbs. You could add a birthday cake topper or even candles or sparklers if you carefully make small holes in the wax of the cheese. Grapes and berries make excellent edible flourishes for a cheese cake. If you're feeling particularly creative you could create embellishments using charcuterie. Try rolling up salami discs into flowers or draping prosciutto around the edges of the cake. Don't forget to lay out your crackers, chutneys and other accompaniments nearby along with cheese knives and plates.
Step 5: Enjoy!
We're sure your cheese birthday cake will soon be devoured, but if you've ordered a bigger cake to ensure leftovers, be sure to store excess cheese carefully to preserve its life. Keep cheeses wrapped up in the fridge. They usually last between 10 and 14 days. You can also freeze cheese for up to six months, either in its original packaging or in sealed freezer bags. This means the lucky recipient of the cake can enjoy their luxury cheese gifts for months to come.